| .. | ||
| .godot | ||
| readme-assets | ||
| res | ||
| default_env.tres | ||
| icon.png | ||
| icon.png.import | ||
| Main.gd | ||
| Main.tscn | ||
| Player.gd | ||
| Player.tscn | ||
| project.godot | ||
| README.md | ||
Flappy Bird
Introduction
This tutorial will guide you in creating a basic Flappy Bird game. We'll walk you through the entire process using the provided template. The focus will be on learning and implementing new concepts. Therefore, we'll leave the parts that require writing some logic code up to you.
An example solution will be released so that you can compare it to yours. We've also included a file with some potential features that you can add. Remember that you can press F1 to open the help menu, or you can right-click a symbol and press "lookup signal" if you don't know what something does.
Overview
Let's have a look at the files (At the bottom left). We start with
Main.tscn-> Main sceneMain.gd-> Script accompanying the main scenePlayer.tscn-> Player scenePlayer.gd-> Script accompanying the player scene
During the tutorial we will add more files but this is a good start.
Flying Bird
We'll split the main goal of making Flappy Bird into a few smaller goals, the first one being controlling the bird.
Player
Open up the player scene and it's accompanying script (player.tscn and player.gd) by clicking at the player.tscn file at the bottom left.
If you look at the left side of the screen you'll notice we only have an Area2D, a Sprite2D and an AnimationPlayer node. As you can guess the latter will provide us with an animation. The player still misses a hitbox, let's add it by adding a CollisionShape2D node. Right click Area2D -> Add Child Node -> Select CollisionShape2D. The next step is making sure the hitbox resembles the bird. We can specify the hitbox by clicking on CollisionShape2D and opening the Inspector tab on the right hand side. There we can select the shape and specify the dimensions. At the top of your screen,press on 2D so that we can see the hixbox. Now select a CapsuleShape as shape and change the Radius and height accordingly. If you can't see the Radius and Height options press on the little circle next to CapsuleShape.
Now that the player has a sprite and hitbox let's implement the required logic.
Start in _process(delta) and work your way down, look for TODO 1 comments
Main
Open Main.tscn and Main.gd.
Let's add the player to the scene by right clicking on View -> Instantiate Child Scene -> Select Player.tscn.
When you run the game you should now be able to move the bird.
However there's still one issue, the bird goes off screen. We want the camera to follow the bird.
We can fix it by adding a Camera2D node to the player.
You should now able to fly!
Level generation
The next step is placing towers on the map.
Tower
We don't have a tower scene yet so let's add one! At the bottom left right click and add a new scene. Select 2D Scene and give it the name Tower
As you can see we start with a single node.
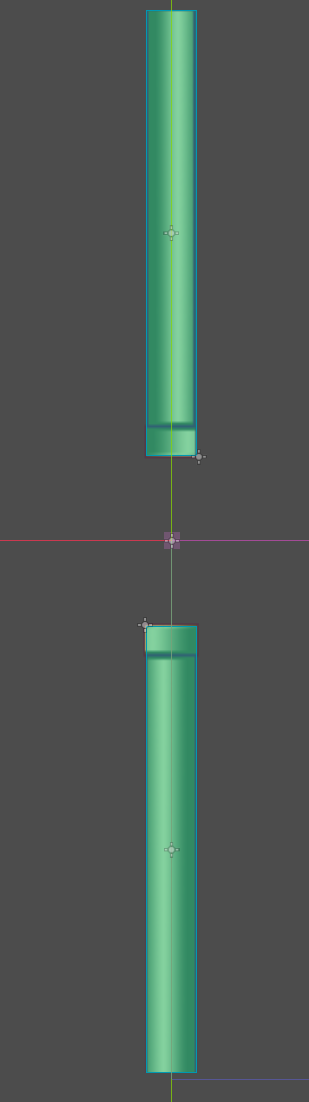
A tower consists of 2 parts, an upper pipe and a lower pipe. We'll use RigidBody2D. Add 2 of those, one for the upper half and one for the lower.
let's give the upper pipe a texture.
Add a Sprite2D to the RigidBody2D. In the Inspector tab you'll see an empty texture field. Give it a texture by pressing on empty -> select Load -> select sprites.png inside the directory res.
Sprites.png contains every sprite you might want to use however we only need the upper pipe.
Inside region, click on Enabled and click on the button Edit Region. You can now select the pipe.
Finish it all off by giving it a CollisionShape2D and matching the collision hitbox with the texture.
Repeat it all for the lower pipe.
The last step is moving the pipes so a gap is created between them. You should end up with something like this.
Main
It's time to add the towers to the game. We want to dynamically load in towers so unfortunately we can't use the same method we used for the player. Head over to the code and follow the instructions, look for TODO 2 comments.
You should now be able to fly between pipes and get reset when you hit a pipe.
Score System
UI
The only thing left to implement is a score system.
Let's create another scene, Select 2D and name it UI. We need to change the standard Node2d to CanvasLayer by right clicking the node -> change type -> select CanvasLayer.
Give it a MarginContainer, inside a HBoxContainer and in there 2 labels. BestScore and CurrentScore.
We'll leave it to you to implement the required functions and variables to keep track of the score. We're going to use a signal in the next part to connect you function with the right event.
Main & Player
It's time to connect some signals and implement some logic inside Player.gd that sends those signals. Head over to the code and look for TODO 3.
You should now have a fully functioning game.
Final cleanups
Although the game works there are some minor issues, you could try to fix those, this time without Todo's :).
- we keep building towers but we never remove them! Remove any tower that is no longer on the screen.
- Also the game runs framerate dependant now, when you have a higer frame rate you bird drops like a stone. Make the game framerate independant.