|
|
||
|---|---|---|
| .github/workflows | ||
| docs | ||
| lib | ||
| misc | ||
| moana | ||
| pcb | ||
| python | ||
| src | ||
| .editorconfig | ||
| LICENSE | ||
| README.md | ||
README.md
Ontmijnen van een Bom vereist Uitstekende Samenwerking
You see an armed time bomb but don't know how to disarm it. Your friends found a manual to defuse the bomb and you have them on call. This is the premise of the game OBUS, a hardware project by Zeus WPI. Inspired by the amazing software game Keep Talking and Nobody Explodes.
Get started writing a module
These are the instructions for building your own OBUS module with an Arduino Nano v3 and the custom PCB. If you're using other hardware, you might need to do some things differently.
- (Read the "Getting started guide" to get a general idea of how OBUS works.)
- Install the Arduino IDE.
- Clone this repository with Git in a permanent location on your drive.
- Symlink the library:
ln -s /ABSOLUTE/PATH/TO/REPO/lib /PATH/TO/Arduino/libraries/obus(on most Linux distro's, this the Arduino folder is in$HOME/Arduino) - Follow these steps to install the CAN library
- Execute
./src/new_module.shto create a new module. When asked for a type, you'll probably want to choose 'puzzle'. - Edit the newly generated .ino file, either in the Arduino IDE or in your own editor.
- In the Arduino IDE, select the correct board (Arduino Nano) and processor (ATmega328P (Old Bootloader)). After that, flash your code to the Arduino and test it out.
- On some Linux distributions, you'll need to prevent BRLTTY from taking over the serial adapter because BRLTTY thinks it's a Braille keyboard. You can do this by uninstalling it (
pacman -R brltty) or by disabling it and then rebooting. - If you get permission errors, try adding yourself to the dialout or uucp (Arch Linux) group
Background
Game
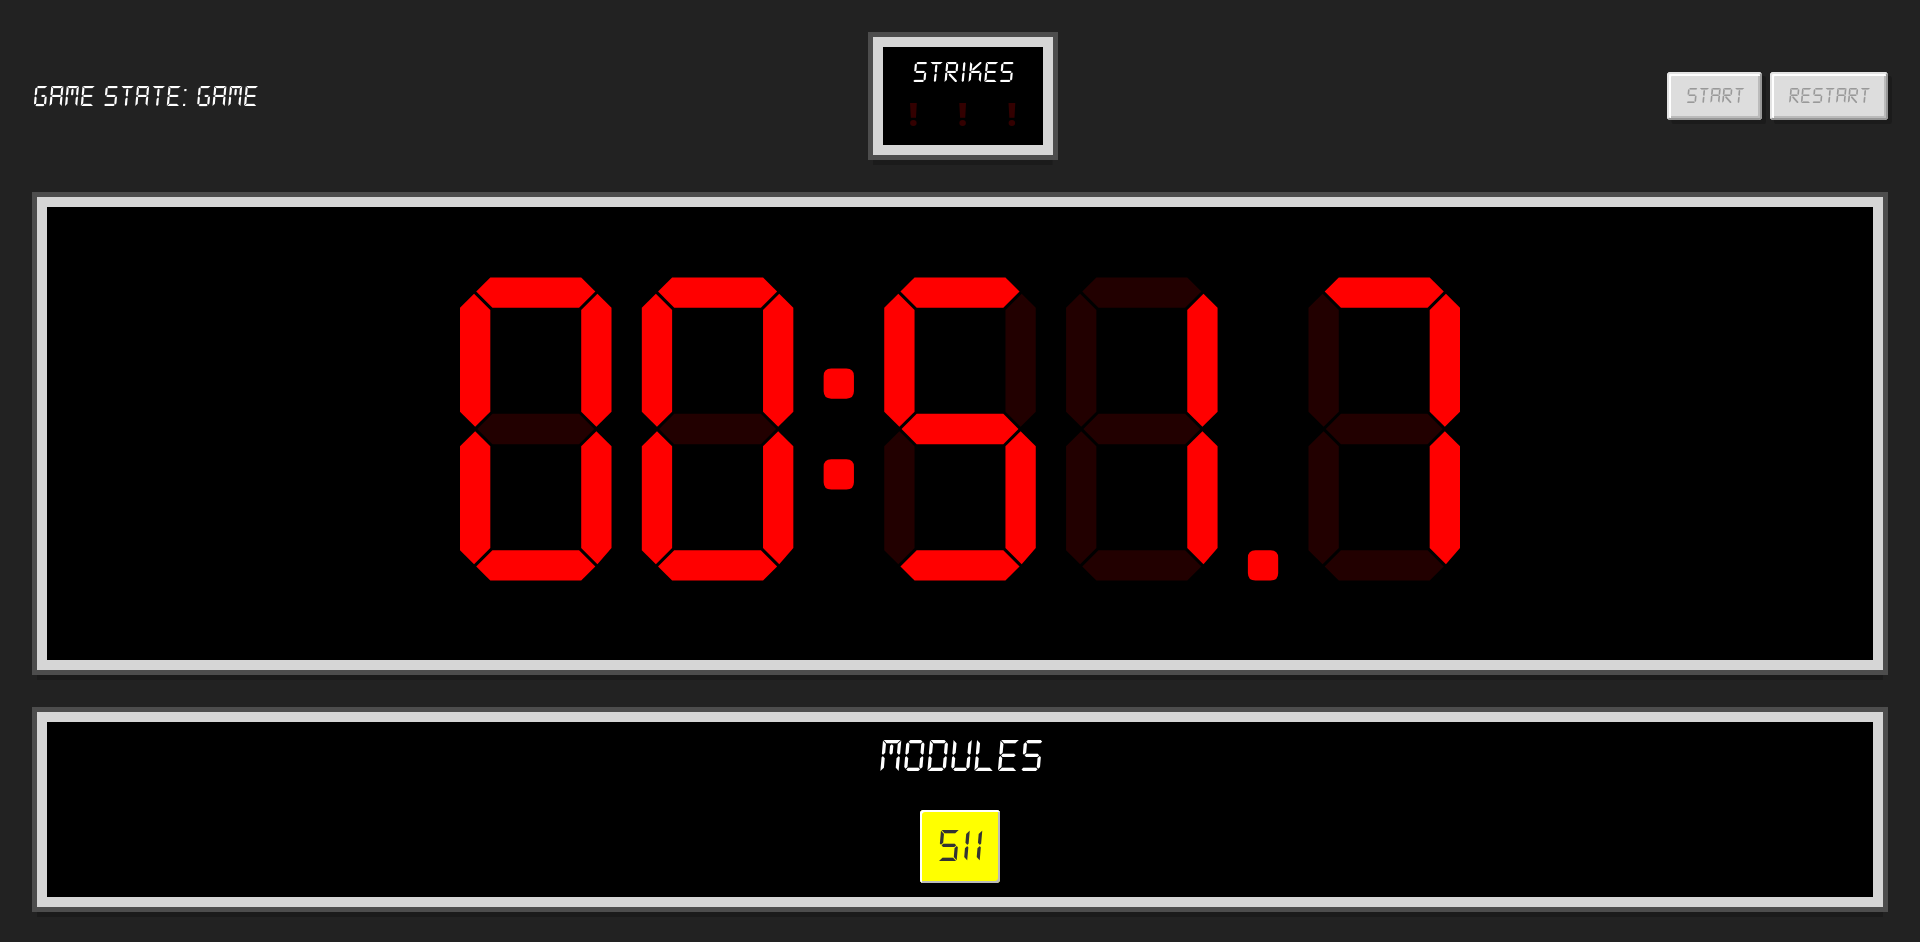
The game is played by at least two players. The goal is to defuse a bomb, this is accomplished by defusing every module on that bomb before the bomb timer runs out.
There are two roles:
- Expert: this person can read the manual about how to defuse the bomb, but cannot see nor interact with the bomb
- Defuser: this person can see and interact with the bomb, but cannot read the manual
These two roles can communicate with each other. To successfully defuse the bomb, they must communicate efficiently and clearly. If a mistake is made, the team gets a strike. If they get too many strikes or the timer runs out, the bomb explodes.
Common wiring between all modules
- CAN-H: red on JST 3 pin connectors, purple on CAN wire
- CAN-L: white on JST 3 pin connectors, brown on CAN wire
- +12V: red on 2 pin JST connector and power wire
- ground: black on 2 pin JST connector, no color on power wire